I was slightly curious about this book as I only knew Nancy McDermott's recipes from her baking book "Southern Cakes" which is a bit of a hit or miss book with getting recipes to turn out. That said, it may not be the book sometimes as it is me sometimes not reading directions or issuing those dreaded words "that should be good enough." Hence the adaptation below. Nancy's instructions were very simple but exact. I on the other hand pretty much dumped everything together into the skillet and skipped a few steps altogether. So I was pretty happy when everything turned out surprisingly tasty.
I've had some issues with messy eating involving lettuce cups and this one was no exception but it's a great meal to whip up on a lazy Saturday afternoon when you're hiding in your house because it's too humid to go outside. Although I would probably make this again on a weekday as it's very simple to put together. Only minor changes I might make is to add some fine diced veggies in this to give it some crunch but overall, liked this. Now I just have to stay out of the kitchen so I don't keep taking spoonfuls of meat out of the fridge.
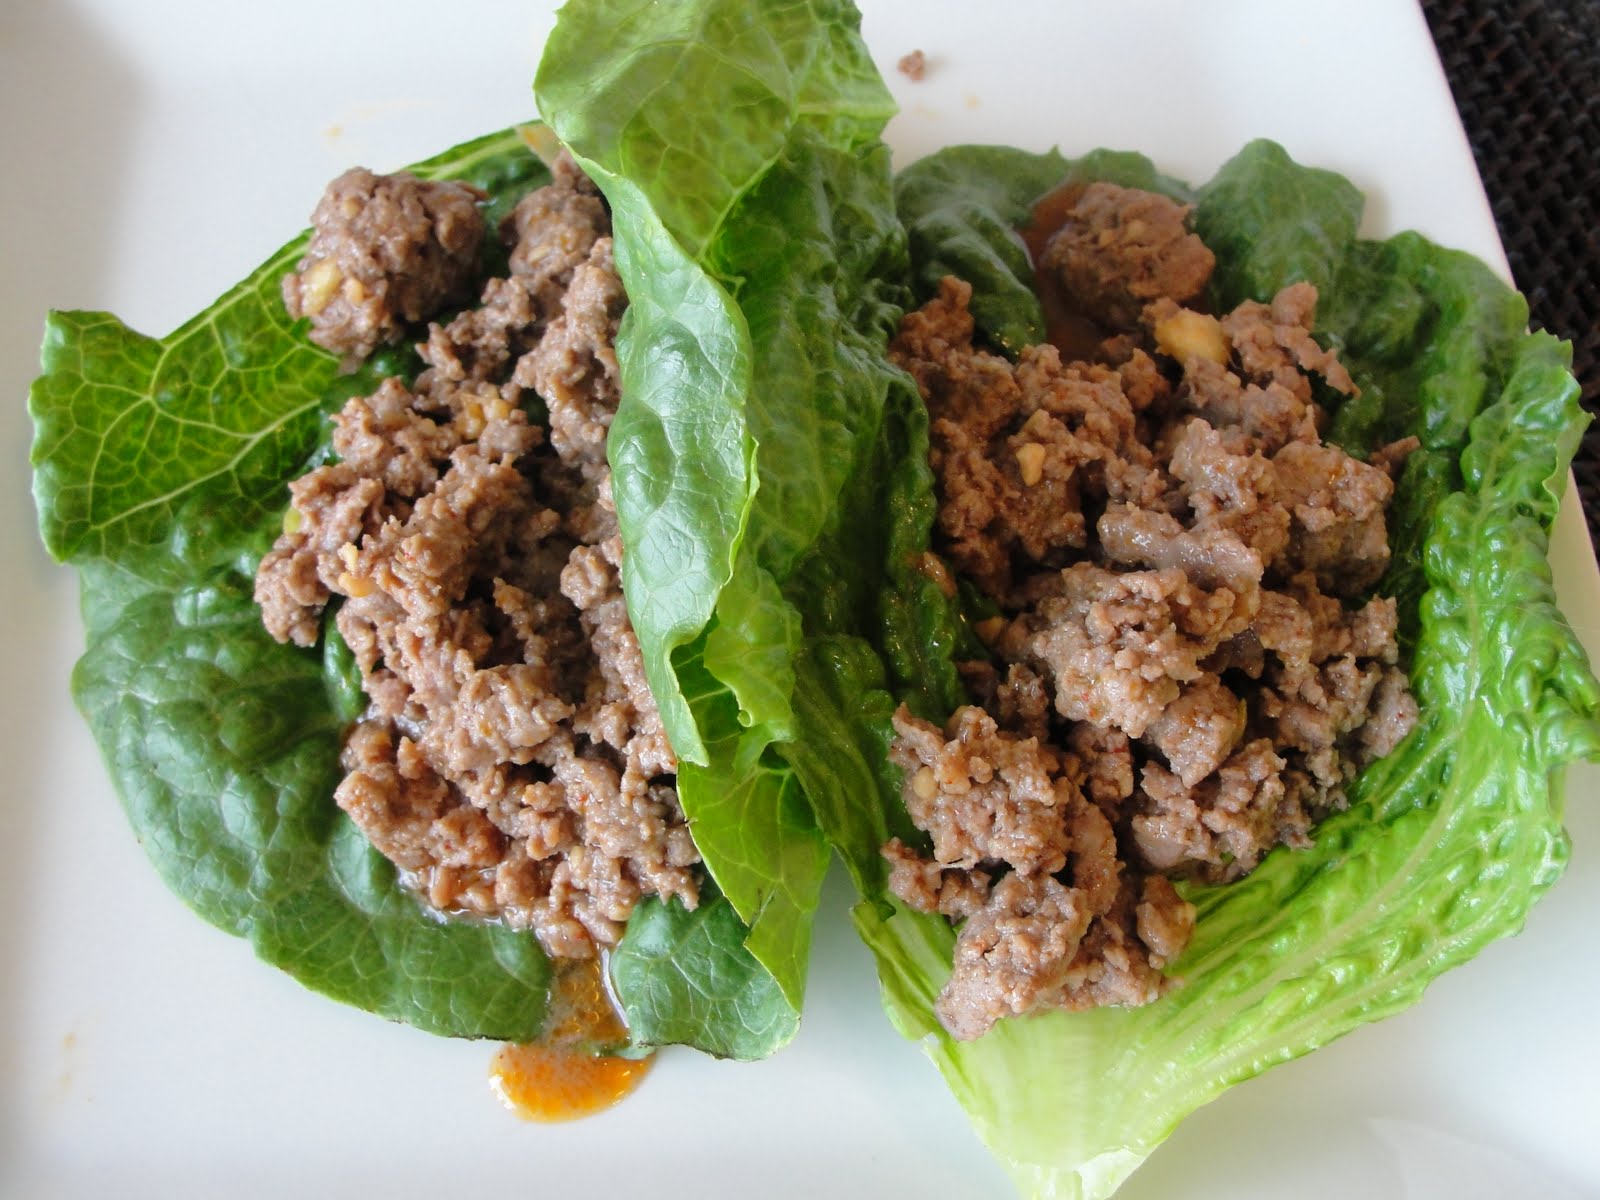
Spicy Beef in Lettuce Cups
Slightly adapted from: Quick & Easy Chinese by Nancy McDermott
3 tbsp soy sauce
2 tbsp dry sherry
2 tsp cornstarch
1/2 tsp sugar
1/2 tsp salt
1 pound ground beef
2 tbsp vegetable oil
2 tsp dried ginger powder
1 tbsp fresh ginger chunks
1 tbsp garlic
1/2 tsp ancho chili powder
3 tbsp green onion
1 tbsp Asian sesame oil
Cup shaped lettuce leaves
In a small bowl, combine soy sauce, sherry, cornstarch, sugar and salt and stir well to dissolve cornstarch.
Place ground beef in medium bowl.Mix with half of soy sauce mixture. Combine sesame oil, ancho chili powder, and dried ginger and combine with soy sauce mixture. Let sit for 10-15 minutes.
Lightly stir fry diced green onions and ginger chunks until aromatic but not browned. Add ground beef and stir until meat no longer has any chunks. Cook until completely browned. Drain fat from pan.
Transfer to a serving plate. Serve hot or at room temperature.


